Wednesday, 10 July 2013

Doctor Who Party

My daughter wanted a Doctor Who themed 16th Birthday Party. 

We got lots of ideas from the internet and added a few of our own.
We love decorating the house for parties & celebrations.
My daughter made some themed invitations. She also wrote a Doctor Who themed murder mystery game.
I made some bunting featuring a picture of each doctor on each flag and another set with monsters & characters on it.
 My daughter made some themed paper chains.
From 2 scraps of wallpaper, I made a message to Sally Sparrow from the the Doctor from Series 3 episode 10 -  'Blink'.
The Crack in Time from Series 5 was made from black paper and stuck to the wall.


We hung the planets from a solar system mobile from the ceiling lights together with a paper model  TARDIS. 
We put up lots of 'Vote Saxon' posters & I even graffiti-ed my own house by painting 'Bad Wolf' on a window.
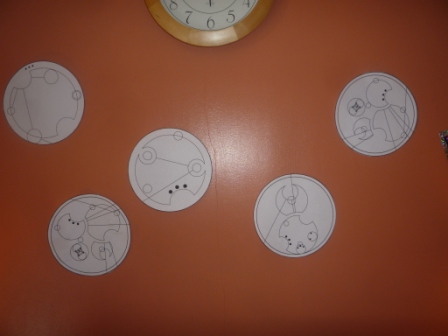
Some Gallifreyan wall art.
Black boxes from the Series 7 episode 'Power of 3'.
We ordered in a take-away for the main meal, but made a few snacks. Using icing sugar, I stuck small marshmallow arms & legs to larger marshmallow bodies to make Adipose from.Series 4 episode 1 -  'Partners in Crime'.
I used black writing icing to draw in the faces.


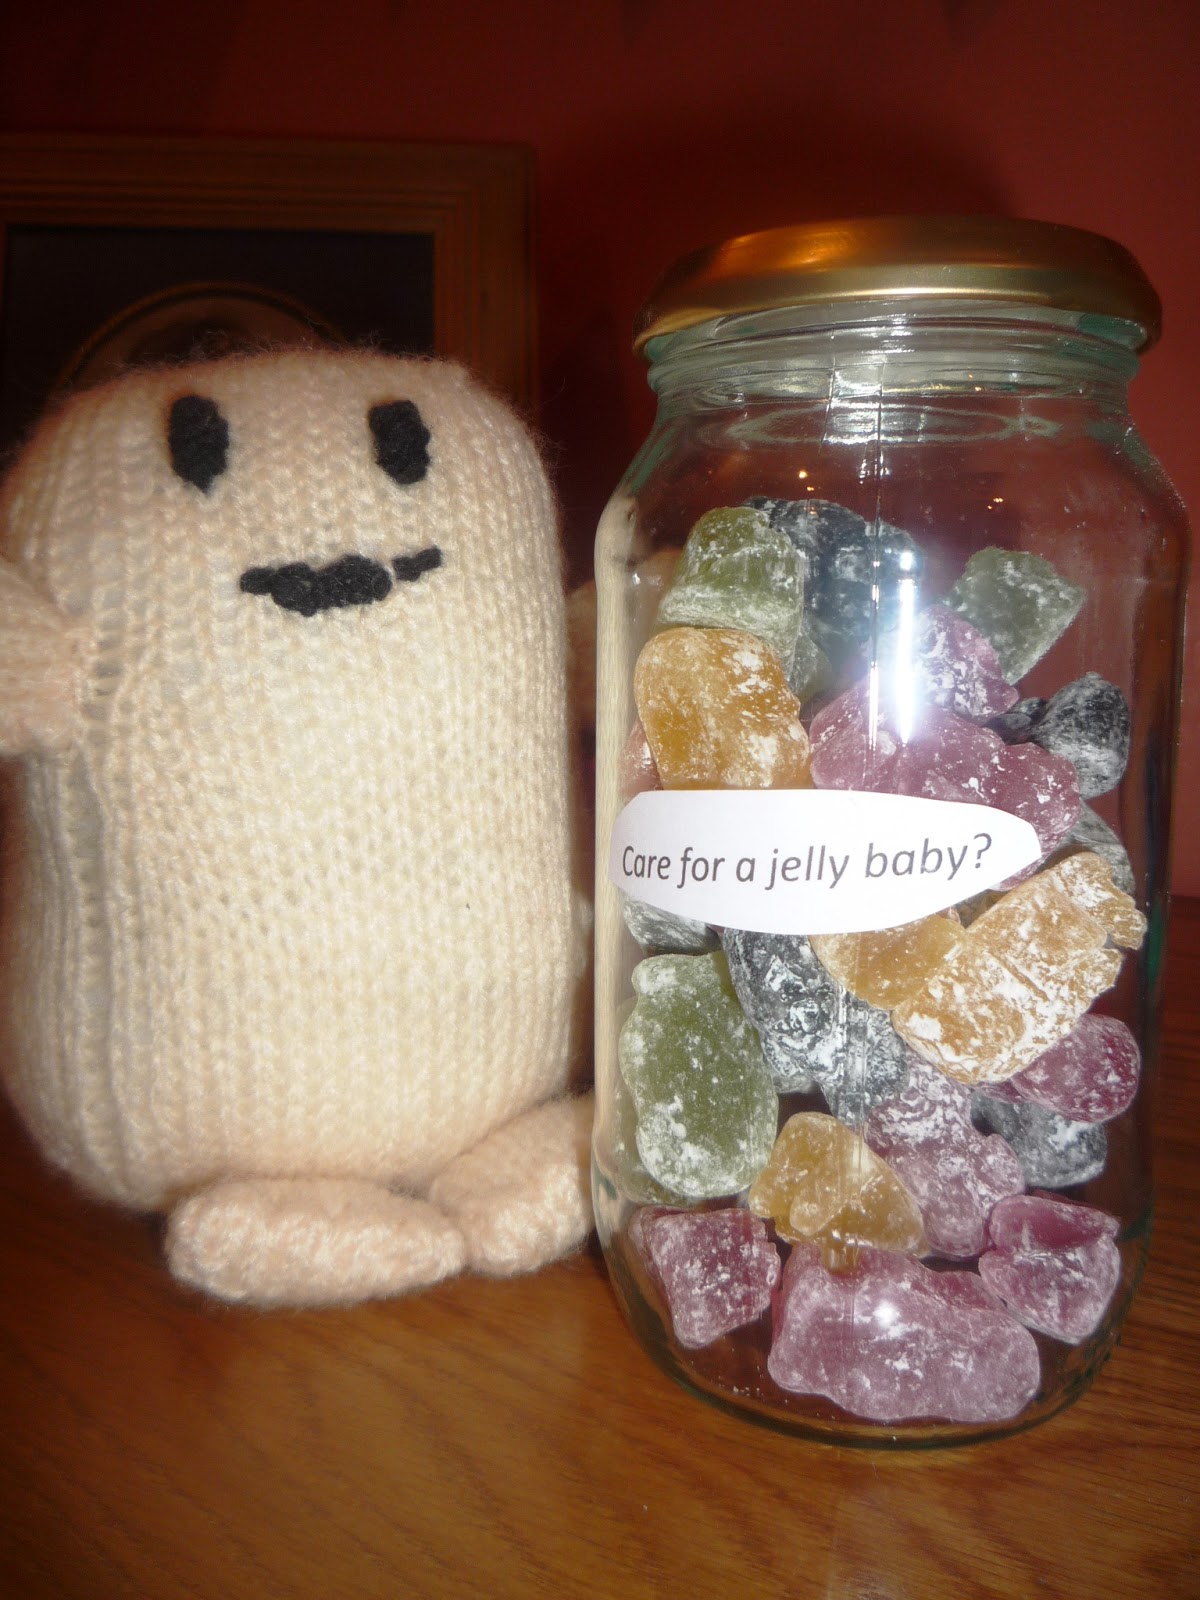
A few jars of Jelly Babies - a favourite of the 4th Doctor, guarded by my knitted Adipose.
A plate or two of Jammie Dodgers - a favourite of the 11th Doctor.

I usually cheat with the birthday cake as I run out of time. I bought a basic birthday cake from the supermarket and recovered it with swirly blue butter icing to represent a big ball of wibbly-wobbly timey-wimey... stuff. We bought some themed cake toppers for the fairy cakes & the sides of the main cake. I wasn't clever enough to make an edible TARDIS that I'd seen on similar cakes so I crashed a model one into it.

An old Fridge Freezer box was turned into a TARDIS. We painted it blue and then stuck on the windows, panels & signs.
And last but not least - the TARDIS dress.

Sunday, 9 June 2013

TARDIS Dress

I thought that my days of making fancy dress outfits for my daughter's birthday party might be over. I was wrong. For her 16th birthday she wanted a Doctor Who themed party and asked of I could make a TARDIS Dress. What a challenge!
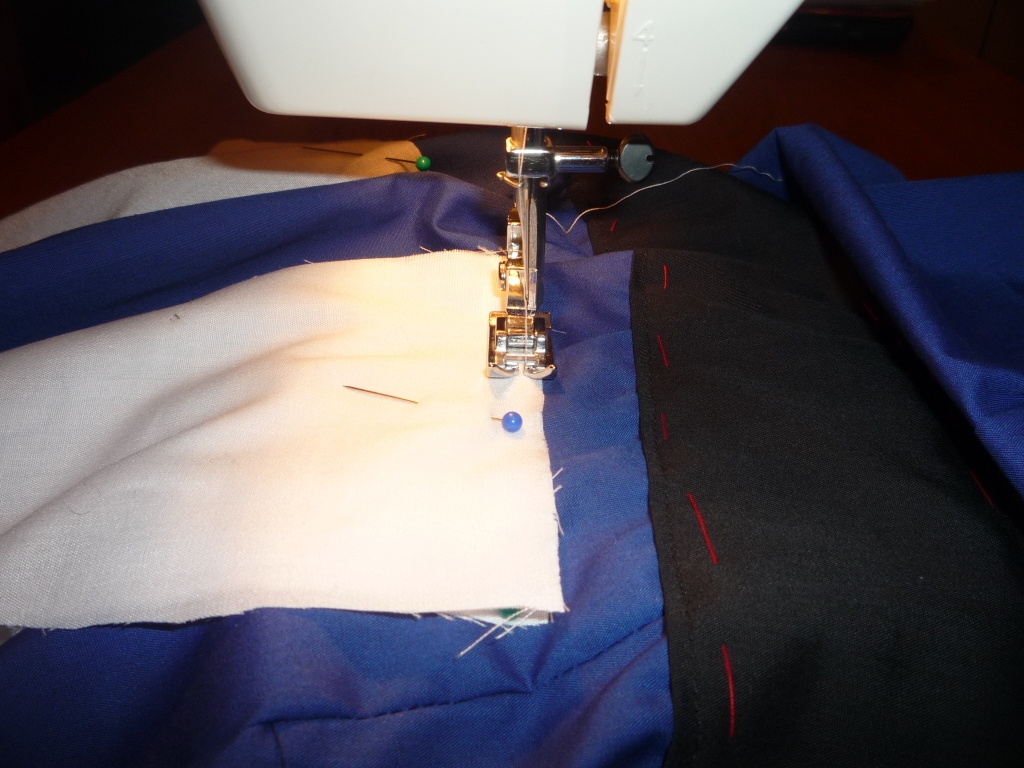
We found so many ideas on the internet and picked out  the main features, the Police Public Call Box signs the windows and the door panels. I made a basic blue dress. It was a challenge in itself as it was designed to be adjustable and the initial seams were made on the outside. There was a lot of unpicking and resewing that I had to do but eventually got the dress together.
First thing was to add a black waist  band to represent the top of the TARDIS.
I positioned the fabric windows & sign, sewed them on and then
 trimmed the edges with black ribbon. 
I've NEVER had to do so much unpicking & resewing to try and get the windows straight & in the right position. After several attempts,  I abandoned it & got on with the top sign.
I made a paper pattern.
Traced it onto baking paper.
 I used iron-on fabric adhesive to back some white felt, traced out and cut out the letters.

Marked the middle of the of the waist band.
Pinned on the baking paper guide lining it up with the middle of the waist band.
Sewed the felt letters on over the top of the guide. Once they letters were sewn on I carefully ripped the guide away.
Back to the windows. I decided to make the windows first and then attach them to the dress.
By using 505 adhesive spray I could position the windows to the dress whilst my daughter was wearing it and we could peel them off & re-position them until they looked OK.  I made and added the blue panels in the same way.
I made a template for the information sign that's on the front of the TARDIS.
It took a couple of attempts until I was happy. I trimmed it with black ribbon and attached it to the dress.


The completed dress, with some TARDIS earrings from ETSY and TARDIS key necklace to finish off the outfit.

Monday, 29 April 2013

New York T-shirt Cushion Cover


My friends brought my daughter a T-shirt back from their trip to New York. Sadly it doesn't fit her anymore but she didn't want to throw it out. We decided to turn it into a cushion cover.


 I cut the front panel and the back off the T-shirt.


Assisted by Brian, I made up the cover using my  usual pattern. 


 I didn't want to put a zip in because I was worried about the material stretching. So, I made some loops and attached buttons to fasten the back of the cover.


The finished cushion cover - a good recycling project.


Brian helping out.

Sunday, 3 March 2013

Canvas Craft - A little something for Mother's Day

I never know what to get my Mum for Mother's day.
So a spare canvas


some left over paint


an off-cut of fabric


some new buttons


Signed by all of us and ready for Mum.
Happy Mother's Day!

Sunday, 3 February 2013

Candle in a tea cup


My friend gave me a great craft gift for Christmas, a tea cup candle kit.


I dug out my old double boiler saucepan to melt the wax beads.


Once the wax had melted I used a small dollop of it to stick the wick to the bottom of the tea cup.


I then poured the rest of the wax  into the teacup. The wick was held straight with 2 pencils until the wax at set.  


So there you have it.  Jeannie-in-a-teapot's candle-in-a-tea-cup.