
I thought that my days of making fancy dress outfits for my daughter's birthday party might be over. I was wrong. For her 16th birthday she wanted a Doctor Who themed party and asked of I could make a TARDIS Dress. What a challenge!

We found so many ideas on the internet and picked out the main features, the Police Public Call Box signs the windows and the door panels. I made a basic blue dress. It was a challenge in itself as it was designed to be adjustable and the initial seams were made on the outside. There was a lot of unpicking and resewing that I had to do but eventually got the dress together.

First thing was to add a black waist band to represent the top of the TARDIS.

I positioned the fabric windows & sign, sewed them on and then
trimmed the edges with black ribbon.
trimmed the edges with black ribbon.
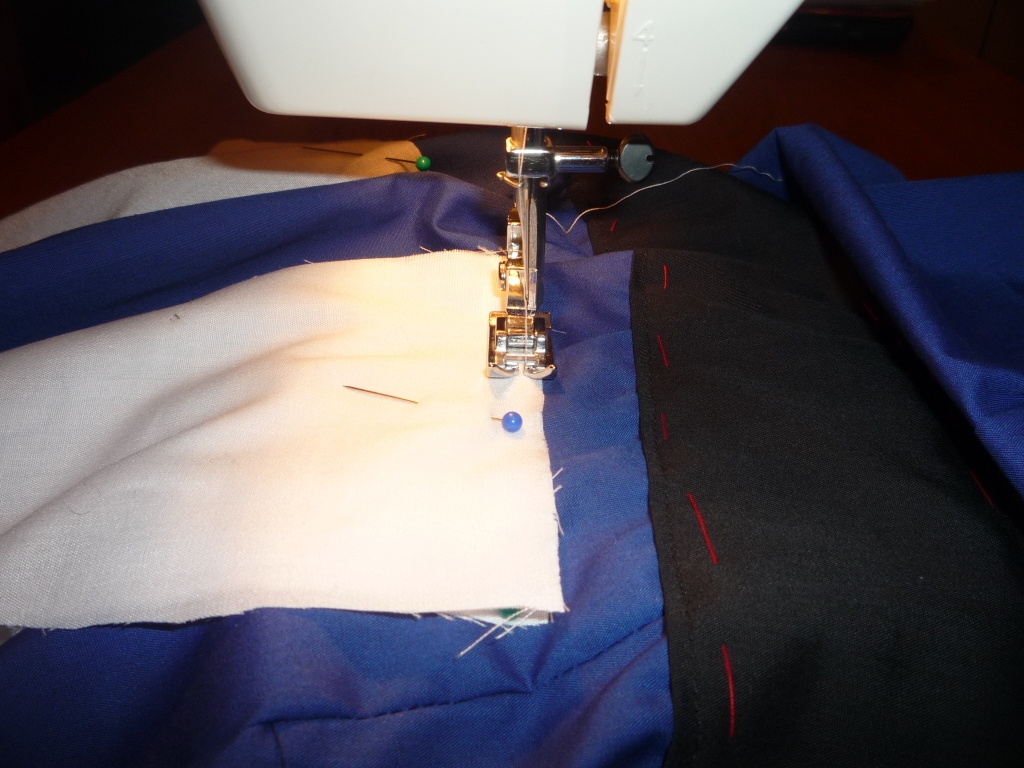
I've NEVER had to do so much unpicking & resewing to try and get the windows straight & in the right position. After several attempts, I abandoned it & got on with the top sign.

I made a paper pattern.

Traced it onto baking paper.

I used iron-on fabric adhesive to back some white felt, traced out and cut out the letters.


Marked the middle of the of the waist band.

Pinned on the baking paper guide lining it up with the middle of the waist band.

Sewed the felt letters on over the top of the guide. Once they letters were sewn on I carefully ripped the guide away.

Back to the windows. I decided to make the windows first and then attach them to the dress.

By using 505 adhesive spray I could position the windows to the dress whilst my daughter was wearing it and we could peel them off & re-position them until they looked OK. I made and added the blue panels in the same way.

I made a template for the information sign that's on the front of the TARDIS.

It took a couple of attempts until I was happy. I trimmed it with black ribbon and attached it to the dress.

The completed dress, with some TARDIS earrings from ETSY and TARDIS key necklace to finish off the outfit.